The average main bathroom in a 1960s island house is about 40 square feet: five feet by eight, with a tub at the far end and a door that opens into the only useful floor space. You cannot make that room bigger without moving a wall. You can absolutely make it feel twice the size, and most of it comes down to reducing the number of times the eye has to stop.
1. Run one floor tile everywhere
The single biggest visual gain in a small bathroom: use the same floor tile through the room and into the shower, with no threshold, no change of material and no border. Every material change is a line the eye reads as an edge, and edges make rooms feel chopped up. Large-format porcelain (600 × 600 mm or larger) with a slip-rated finish works on both floor and shower pan if the pan is built with a linear drain.
2. Go curbless if the structure allows
A 100 mm curb is a wall at ankle height. Removing it — by recessing the shower floor into the joist space and sloping to a linear drain — makes the whole floor read as one plane. On an upper floor with open joists below, this is usually achievable. On a slab it means coring, which is possible but adds cost.
The accessibility bonus
Curbless entries, blocking for grab bars and a 900 mm door are the three cheapest aging-in-place moves in construction, and they cost almost nothing while a wall is already open. We now specify blocking in every bathroom wall we frame, whether or not the client asks.
3. Clear glass, minimal hardware
A frameless 10 mm clear glass panel lets you see the full depth of the room. A framed enclosure with a bottom track and a fixed opaque panel cuts the visible floor area roughly in half. If privacy is a concern, put the frosting on the lower third only, or use fluted glass, which diffuses without going opaque.
4. Wall-hung everything
A floating vanity with visible floor underneath adds perceived square footage in a way that photographs badly and reads dramatically in person. Same with a wall-hung toilet, where the tank sits in the wall cavity — it saves 150 to 200 mm of projection and removes the awkward gap behind the pan that nobody enjoys cleaning.
5. Build storage into the wall, not onto it
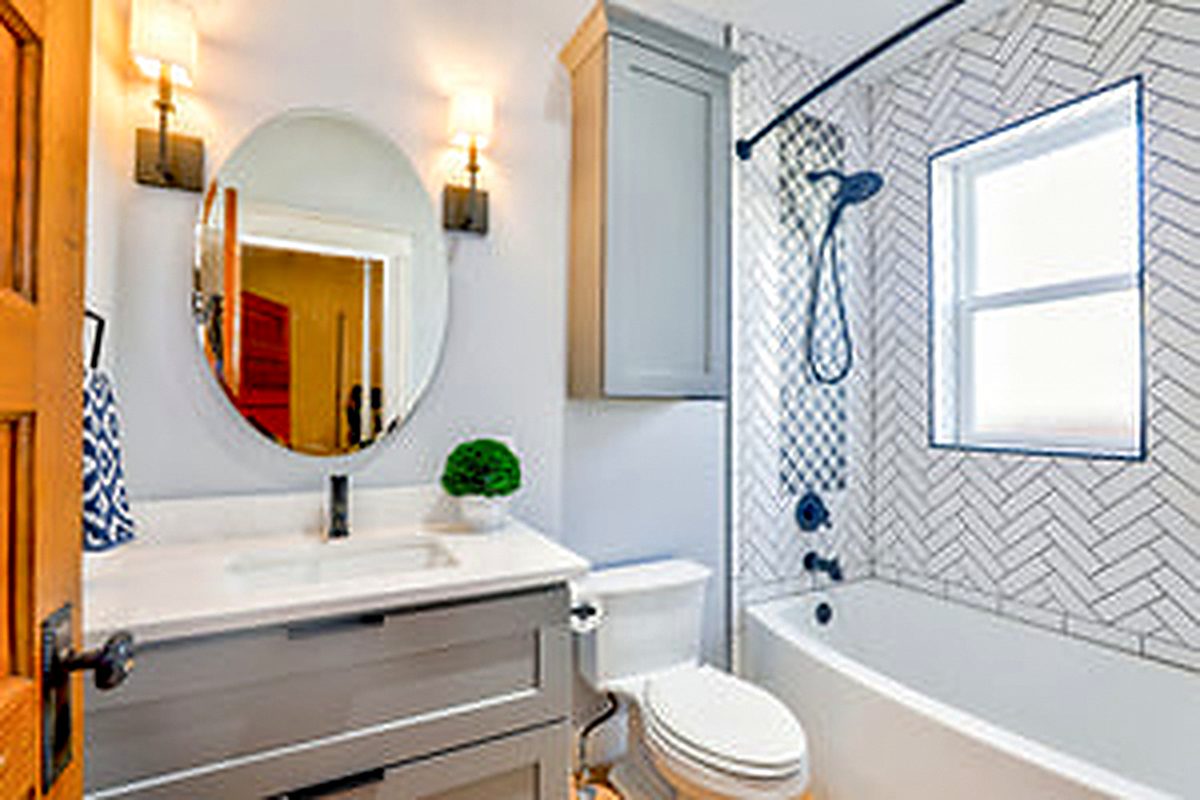
A 100 mm stud cavity will take a recessed niche 90 mm deep — enough for bottles, and it costs nothing but framing time when the wall is open. Recessed medicine cabinets do the same job above the sink. Every shelf that projects into the room is a shelf you walk around.
6. Set the tile out before you order it
Tile set-out is the difference between a room that looks designed and one that looks tiled. The rules we work to: full tiles at the most visible corner, no slivers under 40% of a tile width anywhere, grout lines that align between floor and wall where they meet, and the niche sized to whole tiles so its interior needs no cuts. This requires a drawing before the order, because it changes how many tiles you need.
7. Match the grout, or commit to contrast
Grout close in tone to the tile makes a surface read as continuous — the right answer in a small room. High-contrast grout turns the wall into a grid, which is a legitimate design choice in a powder room where you want personality, and a mistake in a 40 square foot main bath.
8. Fix the door swing
A door swinging into a small bathroom sterilises about eight square feet of floor. Options in order of cost: rehang it to swing out, fit a pocket door (needs a stud bay free of plumbing and wiring), or use a barn-style slider if the wall outside has room. Rehanging is a two-hour job and it is astonishing how often nobody thinks of it.
9. Light the room, not the ceiling
One central ceiling fixture creates a bright ceiling and shadowed faces. In a small bathroom, use three layers: a small recessed fixture or two for ambient, vertical lighting either side of the mirror at eye height for the actual task, and something low — a lit niche or a toe-kick strip — that makes the floor read as continuous at night. Keep everything at 2700 K or 3000 K and put it on dimmers.
10. Make the mirror as big as the wall allows
Wall-to-wall, counter to ceiling if you can. A mirror that fills a wall doubles the apparent depth of the room; a small decorative mirror floating in the middle of a tiled wall does the opposite. Where you need cabinet storage, a full-width mirrored cabinet recessed into the wall gets you both.
11. Use colour, but keep the value close
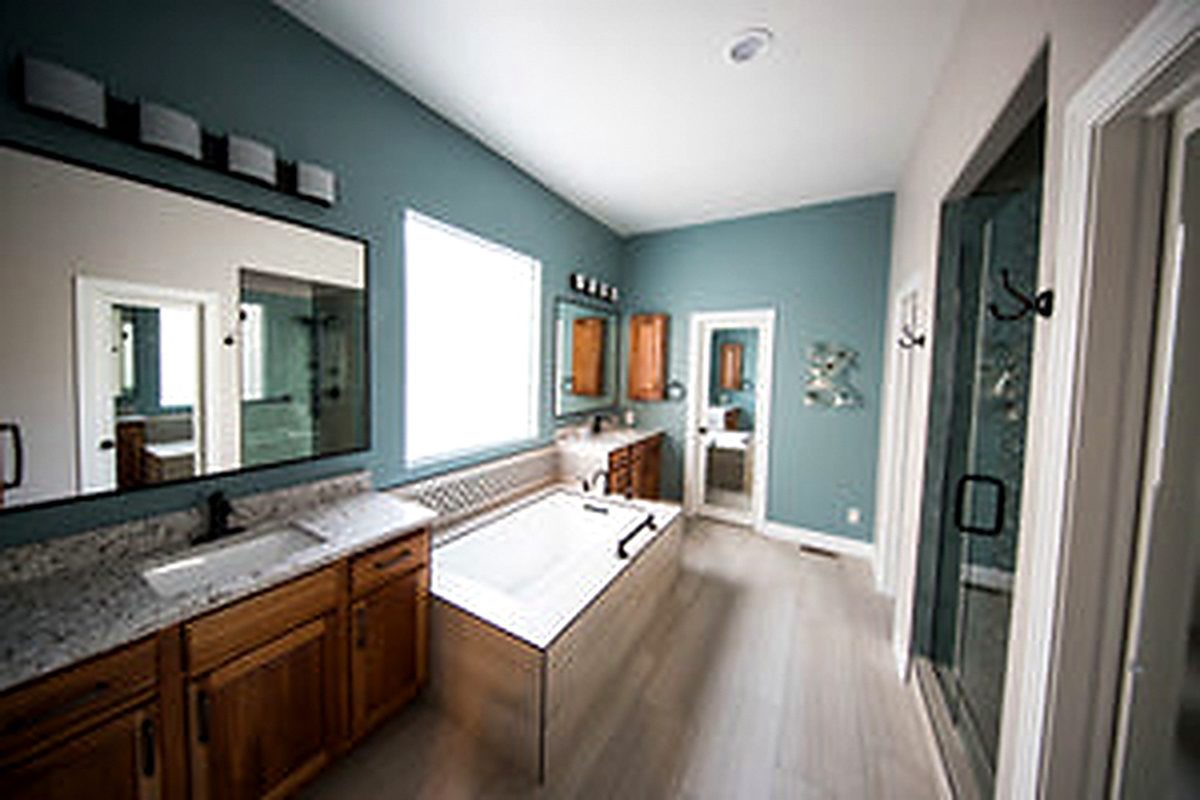
"Paint it white to make it feel bigger" is only half true. What makes a small room feel larger is tonal consistency — walls, tile and ceiling within a narrow value range so corners disappear. That can be white, and it can equally be the deep teal in the photograph above. What breaks it is a dark floor, mid-tone walls and a bright white ceiling, all fighting.
12. Solve ventilation properly, or lose everything above
None of this survives a damp room. On the island, a bathroom without adequate ventilation grows mould in the grout within two winters. Size the fan to the room volume at eight air changes an hour, duct it in insulated pipe to an exterior wall or roof — never into the attic — and put it on a humidity-sensing switch or a timer. A good fan is about $250 more than a bad one and it protects everything else you spent money on.
The one-page brief we ask clients to write
Before design starts, write down: who uses the room and when, whether you need a tub, what you currently store in there and what you'd like to, and one bathroom you've seen that you liked. Four answers, half a page — and it shapes the layout more usefully than fifty saved images.
The order the moves matter in
If your budget only reaches partway down this list, do them in this order: ventilation, curbless or low entry, continuous floor tile, door swing, big mirror, layered lighting. The first two are structural and can only be done during the renovation. The last two can be improved later.
Talk it through with someone who builds these
We give straight answers on the phone whether or not you hire us. If this guide raised a question about your own house, get in touch — or read about our bathroom renovations service.
Written by Dana Whitcombe, Interior designer at Island Home Renovations.